Aspnet core identity provides an UI to registration, login, manage users, password, external authentication (google, twitter, facebook etc). In simple words, We can say it is an authentication and authorization feature in just few lines of commands and code. It is a nice feature, if you don’t want to use other managed authentication providers like Azure Entra Id / Okta Auth0 etc.
Visual studio provides an UI way to enable identity. Which is very straightforward, but using CLI can be a little bit tricky. It is not always the case you are using visual studio (specially if you are using mac or linux). I use linux also. That is the whole reason to write this article.
Let’s start with creating a new project.
Creating a new project
donet new mvc -au Individual -o MvcAuth
This command creates an MVC app with sqlite database. If you want to use SQLServer LocalDb, run the following command:
dotnet new mvc -au Individual -uld -o MvcAuth
To change your database from sql server LocalDb to your hosted sql server just change the connection string in appsettings.json. For example:
"DefaultConnection": "Server=localhost,1433;Database=MvcAuthDb;User Id=sa;Password=my_strong_password;Trust Server Certificate=true"
I have replaced SqlServer LocalDb connection string with docker hosted SqlServer.
If you want to use other database like MySql or PostgresDb, you need to configure the code after creating this application. To be precise, remove Microsoft.EntityFrameworkCore.SqlServer or Microsoft.EntityFrameworkCore.Sqlite from MvcAuth.csproj file (or just uninstall this package). Then add the EntityFramework package of the the database provider (Eg. Npgsql.EntityFrameworkCore.PostgreSQL for postgresql and MySql.EntityFrameworkCore for MySql).
Ef core and code generator tools
Run these commands in a sequence.
dotnet tool install --global dotnet-ef

dotnet tool install -g dotnet-aspnet-codegenerator
These tools are going to be installed globally (not per project) and will be installed once. After that you only need to update these tools.
Migrations
Skip this step if you are using sqlite. Sqlite database is already been created.
Run these commands in a sequence.
dotnet add package Microsoft.EntityFrameworkCore.Design

dotnet ef database update
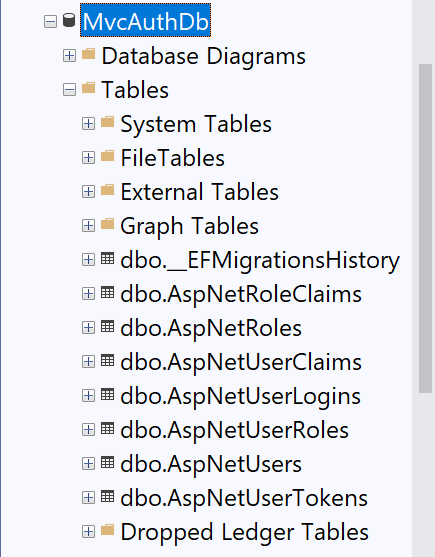
This step generates the database. You will see following tables.
Testing in the browser
- Run the project with
dotnet run. - Open the link (that is provided in terminal) in the browser (eg. http://localhost:5157).
- Click on
Register(top right corner)
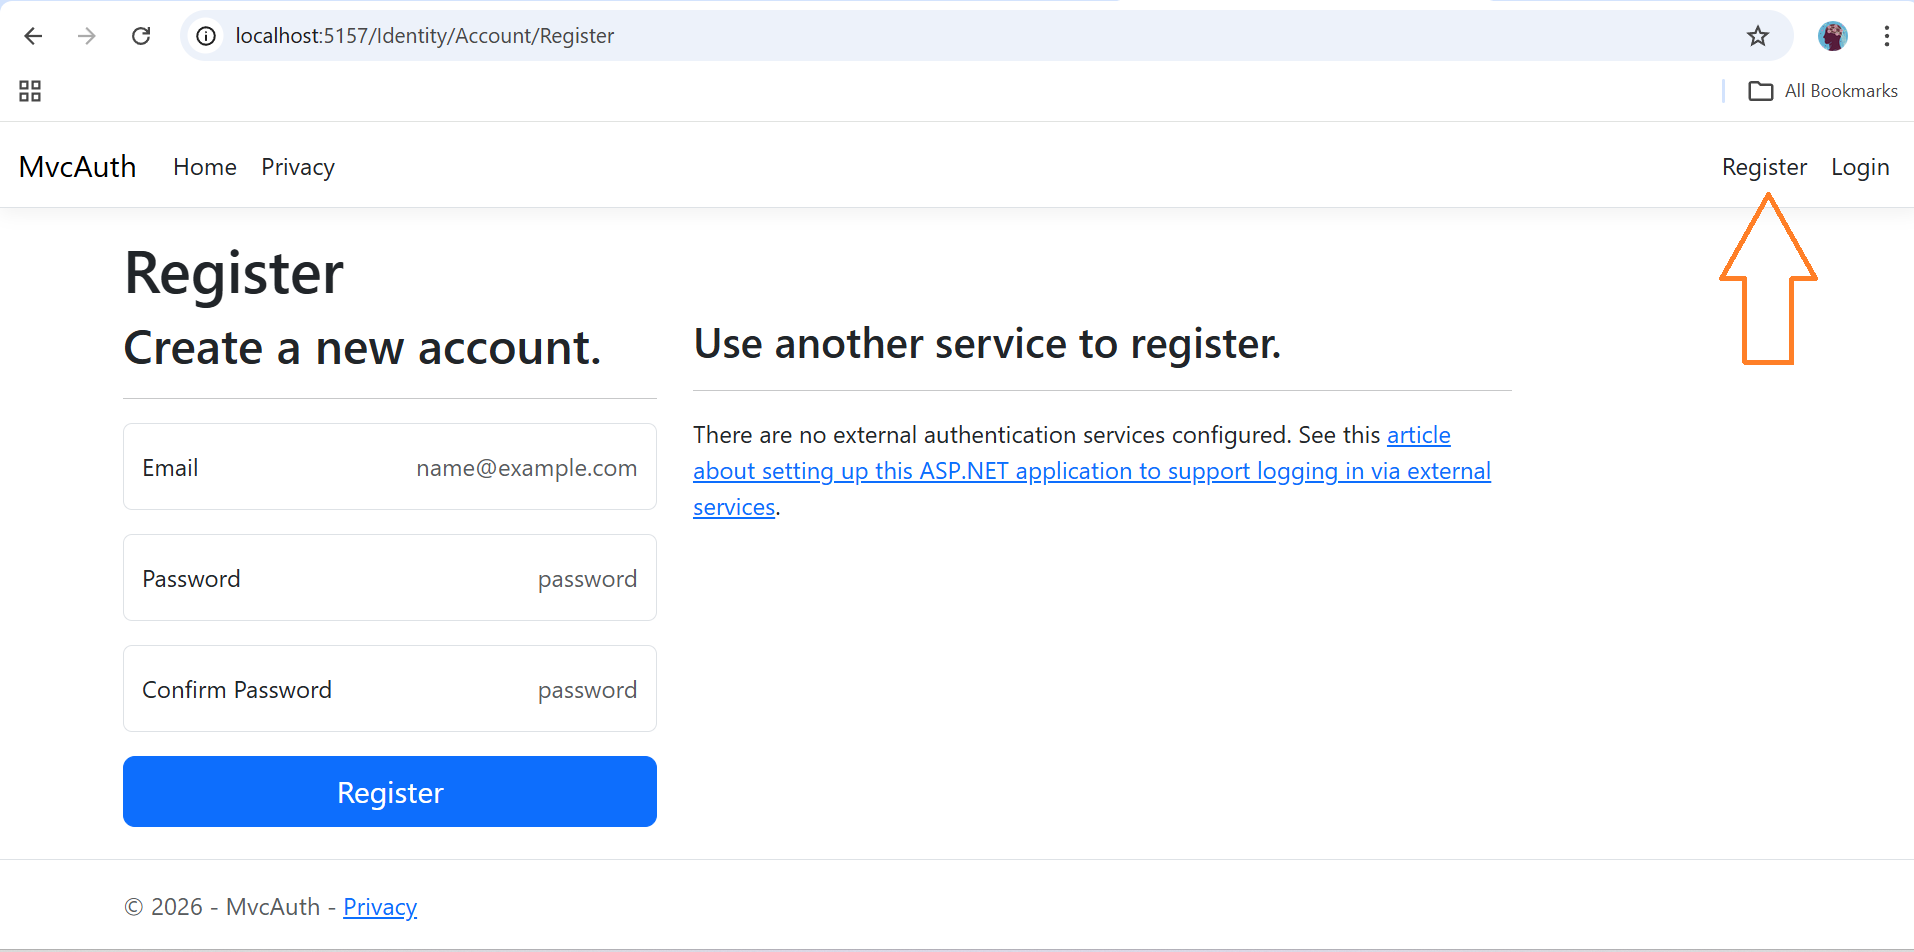
- Register with any email (it can also be fake)
- After successful registration, you will see a verification link on a page, verify by clicking on that link. Right now this app is not configured with email, so you won’t get any email verification link. But you can enable it in future.
- Now, you can login with the created account, login link is also in the top right corner.
Scaffolding (for modifying default identity pages)
Right now, you can do login and signup. But you can not modify these pages. For that we need to generate these pages. Skip this step you don’t need to modify the default functionality. Run the following command:
dotnet add package Microsoft.VisualStudio.Web.CodeGeneration.Design
Run this command too:
dotnet aspnet-codegenerator identity -dc MvcAuth.Data.ApplicationDbContext --files "Account.Register;Account.Login;Account.Logout;Account.RegisterConfirmation"
This command will generate razor pages (Register,Login,Logout,RegisterConfirmation) inside Areas/Identity/Pages folder. Now you can modify pages or add more functionality to them.
