Fluent validation
Fluent validation is an open source library for validating the models, which is free as of I am writing this article.
📢 📝 Last Updated: 25-March-2025
Why fluent validation?
If you already have used data annotation for validation, then you must be aware of the validation in .NET. So you might be thinking why do we need a fluent validation then.
Fluent validation helps you to separate validation logic from your models. That makes your code clean. If you have complex validation logic, then you want to define it separately rather than making your model unreadable.
If you have small scale project and does not have complex validation logic, then using data annotation makes more sense.
You can use the hybrid validation, it is totally up to you and what suits you best. None of them is good or bad. It depends on your requirements.
💻Source Code
👉Branch : Fluent-Validation
Create a project or use existing one
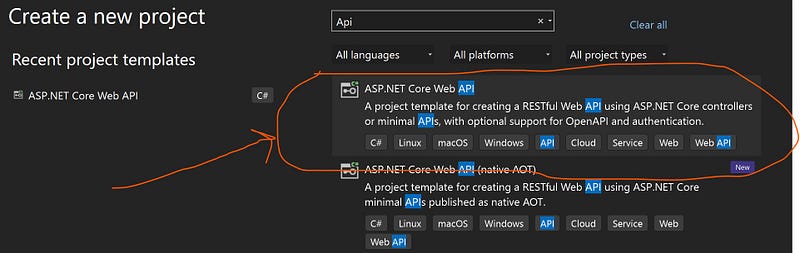
We will create a .net core project with template .Net Core Web Api. It must be controller based APIs. If you have an existing project (for practicing) , then it is good. Life is short and don’t waste your precious time on creating the new projects for every demo.
Note: The updated blog post is based on the .net 9.0. I have to update this blog post because I was using FluentValidation.AspNetCore and it no more recommended for various reasons.
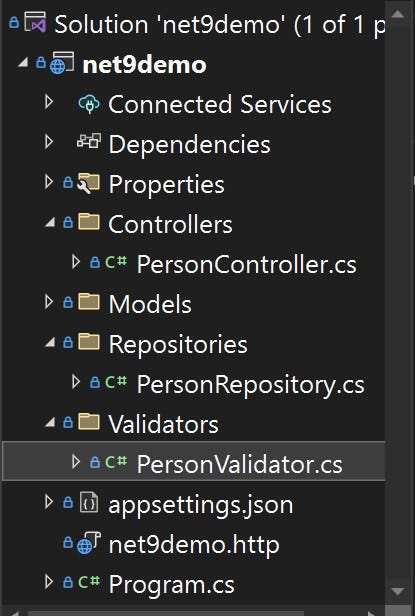
Folder structure
Model
// Models/Person.cs
public class Person
{
 public int? Id { get; set; }
 public string ? Name { get; set; }
 public string? Email { get; set; }
 public int? Age { get; set; }
}
The easiest way (Data annotation)
Data annotation is the easiest way to validate your models. Nothing is wrong with it. It is fast and well suited for small projects. You must be familiar it with. Below is the example of it:
// Models/Person.cs
public class Person
{
 [Required]
 public int? Id { get; set; }
 [Required]
 [MaxLength(50)]
 public string ? Name { get; set; }
 [Required]
 [MaxLength(50)]
 public string? Email { get; set; }
 [Required]
 public int? Age { get; set; }
}
Required nuget package(s)
Let’s install this package in our project.
For PMC:
install-package FluentValidation.DependencyInjectionExtensions
For .NET CLI:
dotnet add package FluentValidation.DependencyInjectionExtensions
👉 Remove all the data annotations (if you are using) from the Person.cs
// Models/Person.cs

public class Person
{
 public int? Id { get; set; }
 public string ? Name { get; set; }
 public string? Email { get; set; }
 public int? Age { get; set; }
}
Validator
We will create a separate class PersonValidator inside the Validators directory/folder. We will define all the validation logic there.
//Validators/PersonValidator.cs

using FluentValidation;
using net9demo.Models;

namespace net9demo.Validators;

public class PersonValidator: AbstractValidator<Person>
{
 public PersonValidator()
 {
    RuleFor(person=>person.Id).NotNull();
    RuleFor(person=>person.Name).NotNull().MaximumLength(50);
    RuleFor(person=>person.Email).NotNull().MaximumLength(50);
    RuleFor(person=>person.Age).NotNull();
 }
}
- Make sure to inherit the
AbstractValidator<T>class. - Validation rules are self explanatory.
IdandAgecan not be null.NameandEmailcan not be null (but they can be an empty string) and theirmaximum lengthshould be50characters.
Program.cs
You need some configuration in Program.cs to make validation work.
builder.Services.AddScoped<IValidator<Person>, PersonValidator>();
Adding validation errors to ModelState
Create a folder named Extensions and create a static class named ModelValidationExtension within the folder. Add the following extension method to it :
public static void AddToModelState(this ValidationResult result, ModelStateDictionary modelState)
{
     foreach (var error in result.Errors)
     {
        modelState.AddModelError(error.PropertyName, error.ErrorMessage);
     }
}
- Make sure to add these lines at the top:
using FluentValidation.Results;
using Microsoft.AspNetCore.Mvc.ModelBinding;
AddToModelStatemethod will add all errors to theModelState.
Person Controller
To use the validator, we have to inject the IValidator<Person> into PersonController and check the validation manually. If validation fails, we will return UnprocessableEntity(),which returns 422 Unprocessable Entity status code along with validation errors.
using FluentValidation;
using Microsoft.AspNetCore.Mvc;
using net9demo.Models;
using net9demo.Repositories;
namespace net9demo.Controllers;

[Route("api/people")]
[ApiController]
public class PersonController : ControllerBase
{
private readonly IValidator<Person> _validator;
private readonly IPersonRepository personRepository;
private readonly ILogger<PersonController> logger;

   public PersonController(IValidator<Person> validator, IPersonRepository personRepository, ILogger<PersonController> logger)
   {
       _validator = validator;
       this.personRepository = personRepository;
       this.logger = logger;
   }


   [HttpPost]
   public async Task<IActionResult> AddPerson(Person person )
   {
       // checking validation
       var personValidator = await _validator.ValidateAsync(person);
       if (!personValidator.IsValid)
       {
           personValidator.AddToModelState(ModelState);
           return UnprocessableEntity(ModelState);
       }

       try
       {
           return CreatedAtAction(nameof(AddPerson),person);
       }
       catch (Exception ex)
       {
           logger.LogError(ex.Message);
           return StatusCode(StatusCodes.Status500InternalServerError, ex.Message);
       }
   }

}
Test with swagger ui
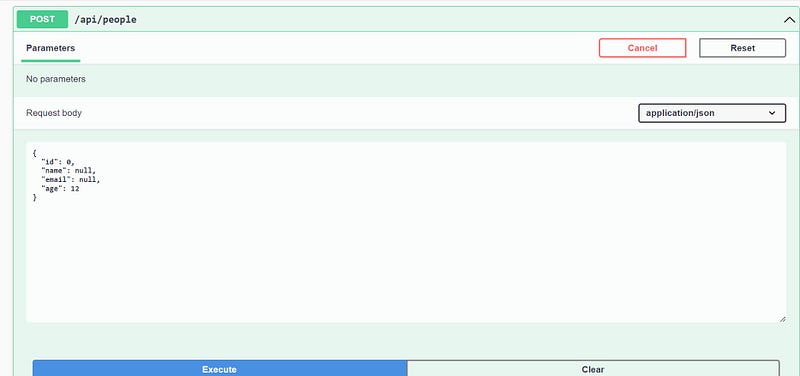
request
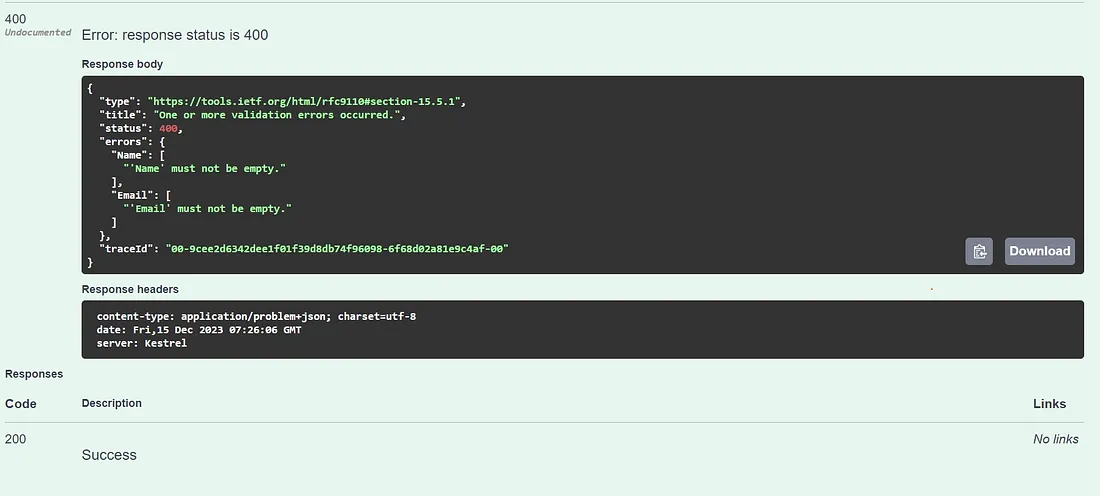
response
Email validator
RuleFor(person=>person.Email).NotNull().MaximumLength(50).EmailAddress();
Regular Expression and custom message
RuleFor(person => person.Password)
.NotEmpty()
.NotNull()
.MaximumLength(20)
.Matches("^(?=.*\\d).*$")
.WithMessage("Password must contain numeric value");
Adding a CategoryValidator
Let’s create a new validator class named CategoryValidator inside the Validators folder.
public class CategoryValidator:AbstractValidator<Category>
{
public CategoryValidator()
{
RuleFor(c => c.Name).NotEmpty().NotNull().MinimumLength(2).MaximumLength(20);
}
}
Register it in the Program.cs
builder.Services.AddScoped<IValidator<Category>, CategoryValidator>();
Registering all the validator at once
If we have n validators, we have to register them n-times. We can register them all at once. Just add the following line in Program.cs :
// either comment these two lines or remove them.
//builder.Services.AddScoped<IValidator<Person>, PersonValidator>();
//builder.Services.AddScoped<IValidator<Category>, CategoryValidator>();

builder.Services.AddValidatorsFromAssemblyContaining<PersonValidator>();
This will find all the public validators in the assembly where
PersonValidatoris defined and register them with the service provider.By default, these will be registered as
Scopedlifetime, but you can also useSingletonorTransient:
services.AddValidatorsFromAssemblyContaining<UserValidator>(ServiceLifetime.Transient);
👉For more detail please visit official docs of fluent validation.
Original post by Ravindra Devrani on December 15, 2023.
Exported from Medium on February 19, 2025.
