In this tutorial, we are going to containerize the .NET Web API application with docker and postgres. I am assuming you are familiar with docker. At least, you should have some understandings of how docker works. However, I have covered all the steps needed to create a docker container for your application, but I am not going to cover the theoretical concepts of docker.
📢Last updated : 21-Nov-2025
🔨Tools needed
- Visual Studio Code (Free)
- .Net 10.0 SDK (Free)
- Docker desktop (Free)
🧑💻Tech used
- .Net 10.0 Web APIs (controller APIs)
- Postgres (within a container)
- Docker compose
🍵Note: I have tested it in windows 11 and linux mint xia.
Why to chose docker compose?
General workflow of creating images and container without docker compose:
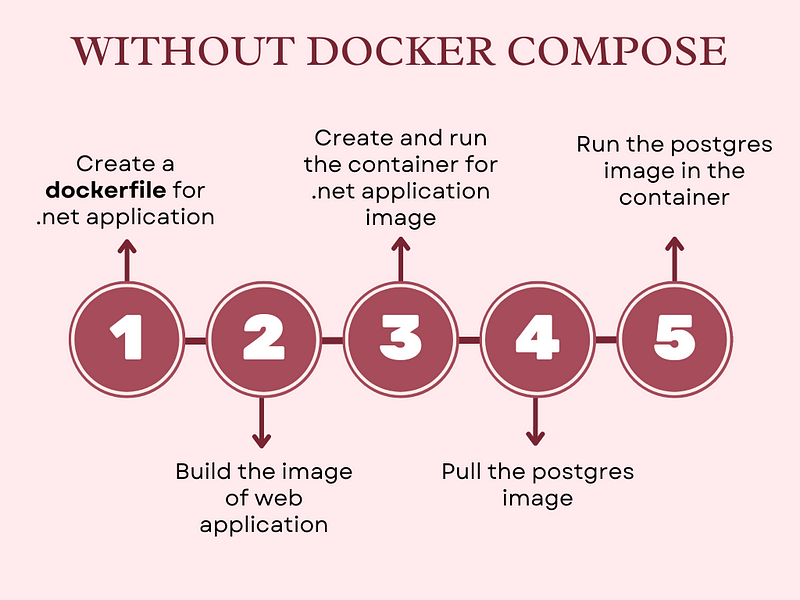
You have to create and run containers separately, which involves typing all the commands manually in the terminal or bash each time.
With docker compose
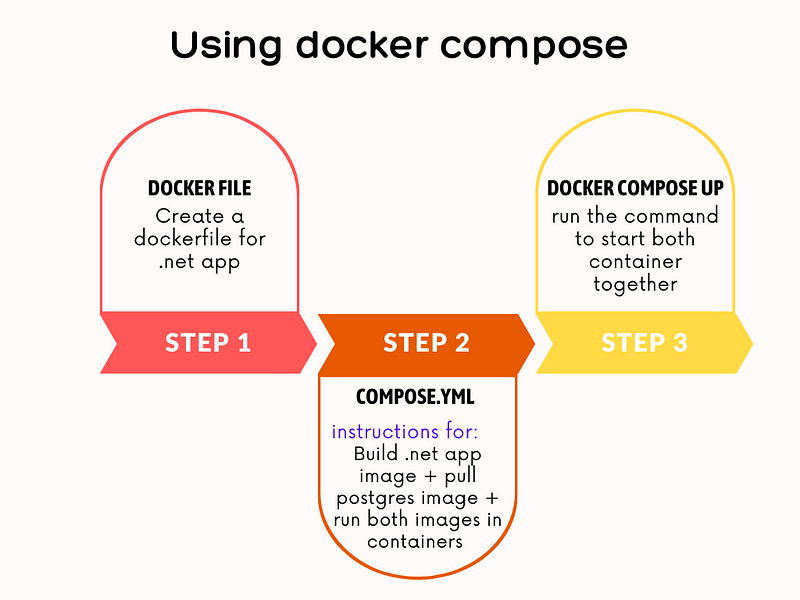
All the steps to build the images and create the containers are defined in a a single file called compose.yml . You just need to fire a single command to create and run multiple containers.
Let’s start with pulling the Github repo
To save time, I have already created an application. You can pull the source code from my Github repo. Execute these commands one by one
git clone https://github.com/rd003/DotnetApiPostgres.git

code DotnetApiPostgres
At this point, your application must have opened in the visual studio code.
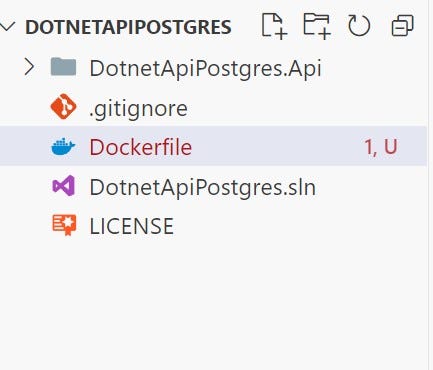
Creating a Dockerfile
First and foremost, create a file named ‘Dockerfile’ in the root directory. Make sure, Dockerfile does not have any extension.
Add the following content in the docker file.
FROM mcr.microsoft.com/dotnet/sdk:10.0 AS build
WORKDIR /source

# copy csproj and restore as distinct layers
COPY *.sln .
COPY DotnetApiPostgres.Api/*.csproj ./DotnetApiPostgres.Api/
RUN dotnet restore

# copy everything else and build app
COPY DotnetApiPostgres.Api/. ./DotnetApiPostgres.Api/
WORKDIR /source/DotnetApiPostgres.Api
RUN dotnet publish -c release -o /app

# final stage/image
FROM mcr.microsoft.com/dotnet/aspnet:10.0 AS final
WORKDIR /app
COPY --from=build /app ./

ENTRYPOINT ["dotnet", "DotnetApiPostgres.Api.dll"]
This Dockerfile contains the instruction to create a docker image of our .net application. It is needed to build a .net application image, which will run in a container.
Creating a compose.yml file
Next, create a file name compose.yml in the root directory and paste the following content there.
services:
  web_api:
    container_name: person_api_app
    build: .
    image: people-api:1.0.0
    ports:
      - 8080:8080
    environment:
      - ASPNETCORE_ENVIRONMENT=Production
      - ASPNETCORE_URLS=http://+:8080
      - ConnectionStrings__default=Host=db;Database=PersonDb;Username=postgres;Password=p@55w0rd
    depends_on:
      db:
        condition: service_healthy
        restart: true
  db:
    image: postgres:16.9-bullseye
    container_name: postgres_db
    ports:
      - 5432:5432
    environment:
      POSTGRES_PASSWORD: p@55w0rd
    volumes:
      - postgres_data:/var/lib/postgresql/data
    healthcheck:
      test: [ "CMD-SHELL", "pg_isready -U postgres" ]
      interval: 10s
      retries: 5
      start_period: 30s
      timeout: 10s
volumes:
  postgres_data:
In this file, we have defined two services.
- web_api: It builds a docker image of .net application and create a container for it, which will listen on the port
8080 - db: It pulls the postgres image from the docker hub, create the container for it which will listen in the port
5432. The image will be pulled only once; if you already have a postgres image with similar tag it won’t be pulled again.
- To ensure that database is running, we have defined
healthcheckindbservice. web_apiservice depends on the servicedb.web_apiwill wait untildbis up and running before starting.web_apionly runs whendbishealthy.
Service order will be:
- db
- web_api
environment: With this we can override the properties of
appsettings.json. We are basically overriding theconnection stringin this step.volumes: We have defined a
volumewith namepostgres_datainVolumessection. We have linked this volume with mydbservice and bind the path/var/lib/postgresql/datato it. By doing so, our database has become persistent. If we delete the postgeress container, our database and all of its data still persists.
Note: The dockerfile and compose.yaml file is created at November,21,2025. The content present in dockerfile and compose file is valid as of now, but may not be valid if you are reading this blog post in distant future.
Run docker compose
We need to run the following command
docker compose up -d
-d flag indicates that container is running in the detached mode. This command will execute the compose.yml file and create the container for the .net application and postgres.
As a result of the command, you should see something like this in your terminal:

To verify if container is running or not, run the following command:
docker ps -a
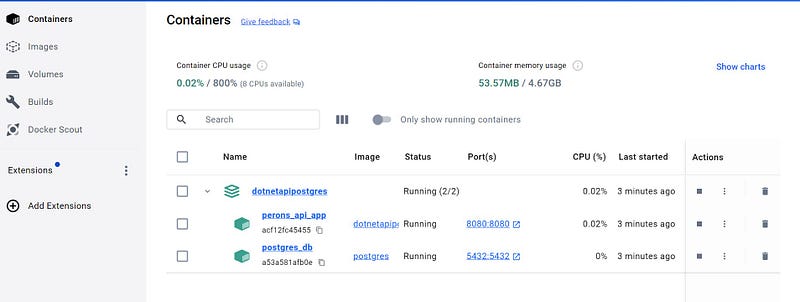
As a result, you should see the containers you have created.
However you can also check it in the docker desktop.
Testing the application
Our application is running at : http://localhost:8080
To test the application open the browser and test this GET endpoint http://localhost:8080/api/people
Stop the composed container
docker compose down
💻 Code with Dockerfile and compose.yaml
I have created a separate branch which contains the dockerfile and compose.yml file. To get the source code with these file, you need to checkout the branch container .
Url: https://github.com/rd003/DotnetApiPostgres/tree/container
This post is originally written by me at medium.com
